

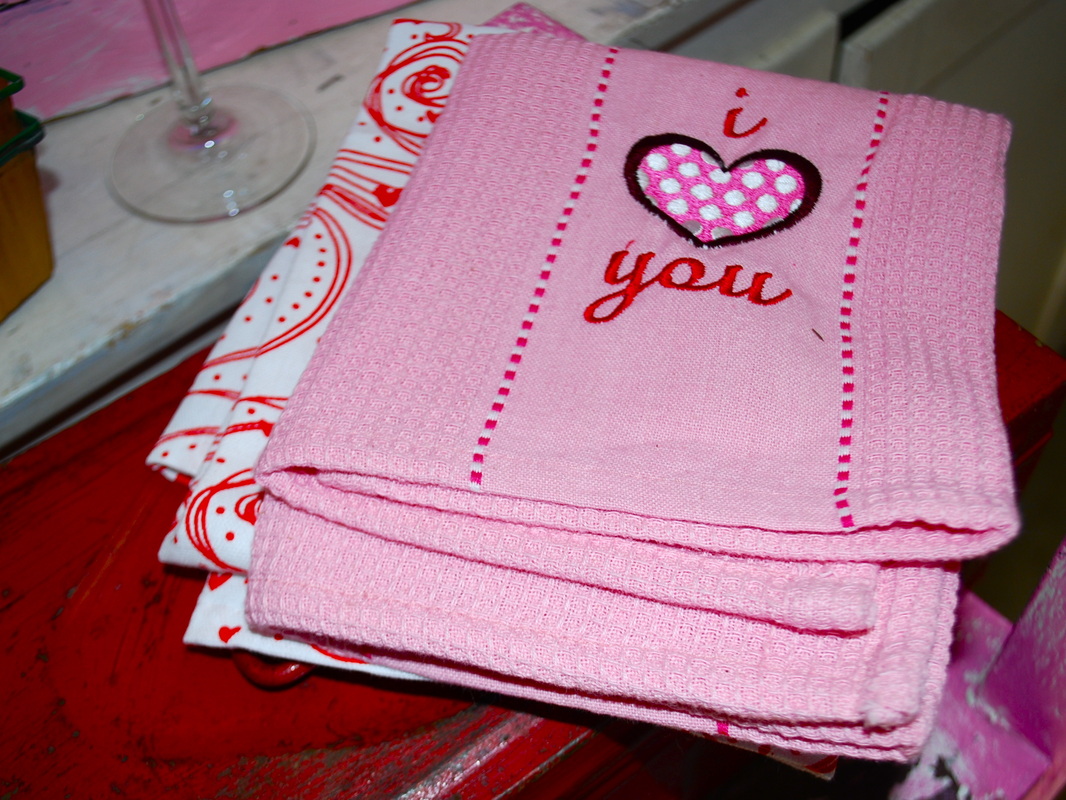
To most people the color pink is the most basic representation of femininity, but to us it is one of the most diverse colors around. We think that the not so old saying, "real men wear pink" is very true, but we like to take it a step further. Real men decorate with pink. Though using the various colors that fall into the pink spectrum in decor aren't always the safest choices, they sure do make a splash! 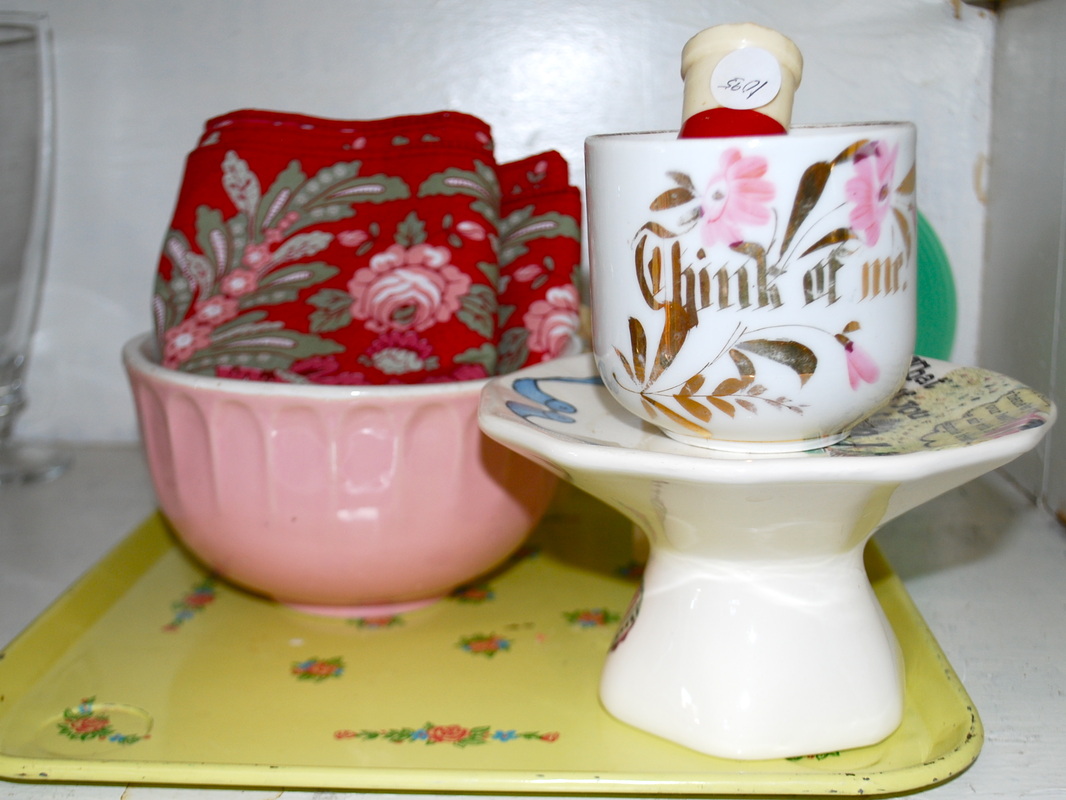
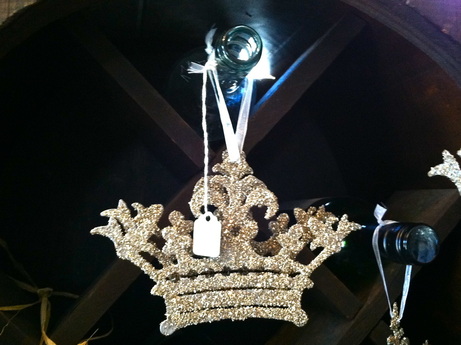
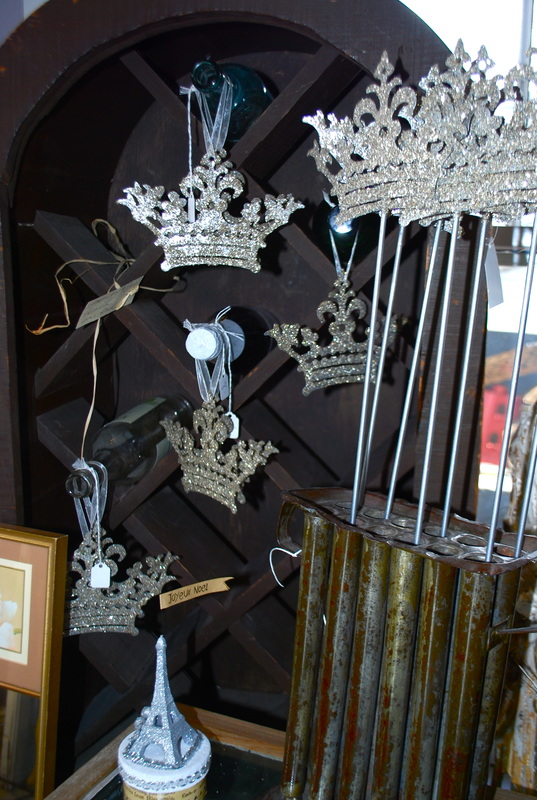
Crowns covered in German glass glitter are sublime.
This week we will all be taking various trips across the country. So, the best things to feature are things that remind us how precious home is. We hope you have a great weekend! 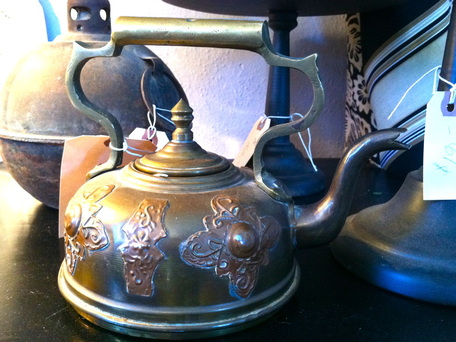
This antique tea kettle screams, 'snuggle up and have a cup'!

Beautiful vintage trays have been catching everyone's eyes as we walk through the front door.
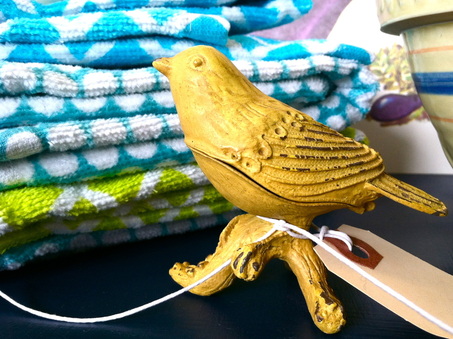
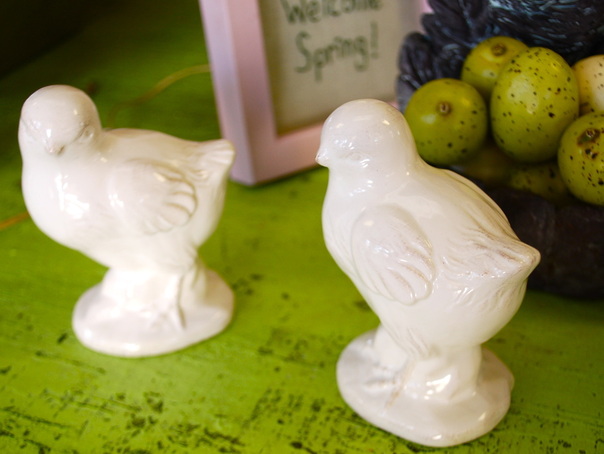
A charming bird, that has space inside for earrings or other small trinkets.
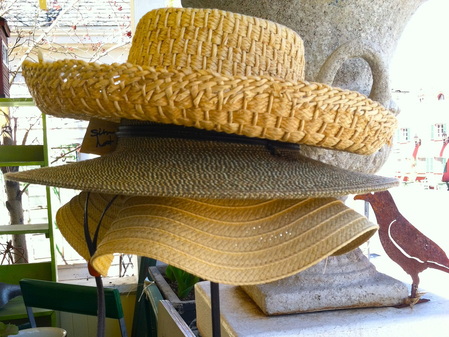
Sun hats that make us wish more than ever that the whether would decide around here!
 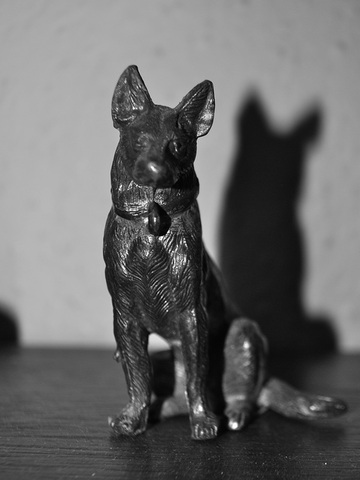
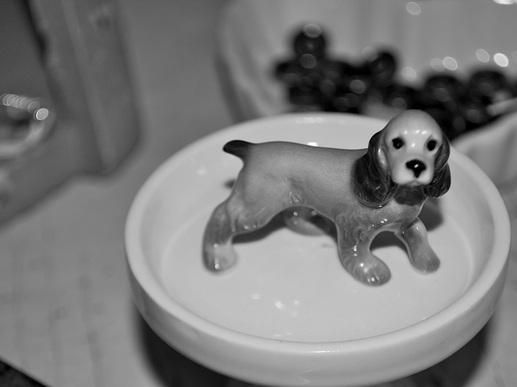
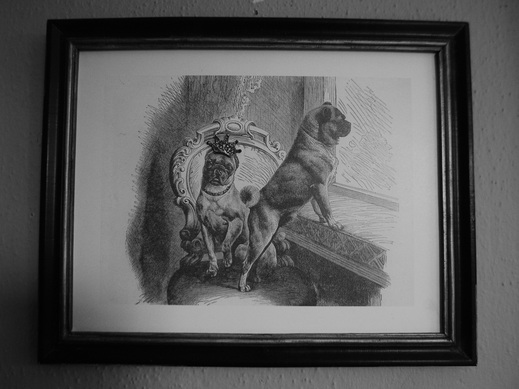
Though the classic saying is 'a man's best friend' at the shop we beg to differ. Our fuzzy for legged companions can clearly live along side either men or women, but we like to think that the saying is wrong anyway. All around the shop we have small odes to those who love us unconditionally, and keep us protected with complete selflessness. Do you have a sweet canine waiting for you when you get home? 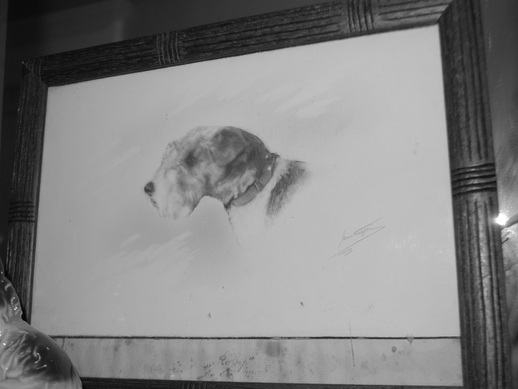
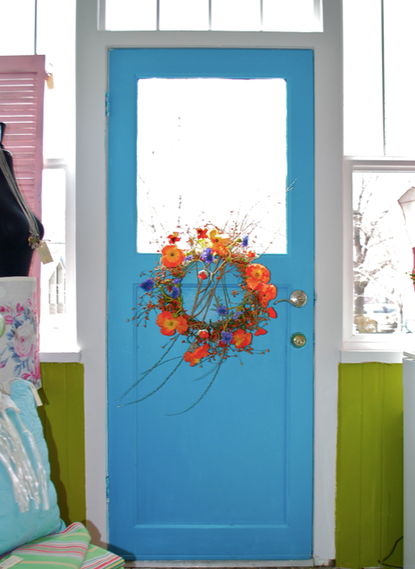
A pop of color in front of a house is an absolute must. A classic red door can transform a house into a home, and a beautiful summer wreath can welcome in friends and family. We think a wreath that captures the season is a fabulous way to decorate the outside of your home, and it couldn't be easier. With just a few supplies and even fewer steps, you can have beautiful decor that will last forever. 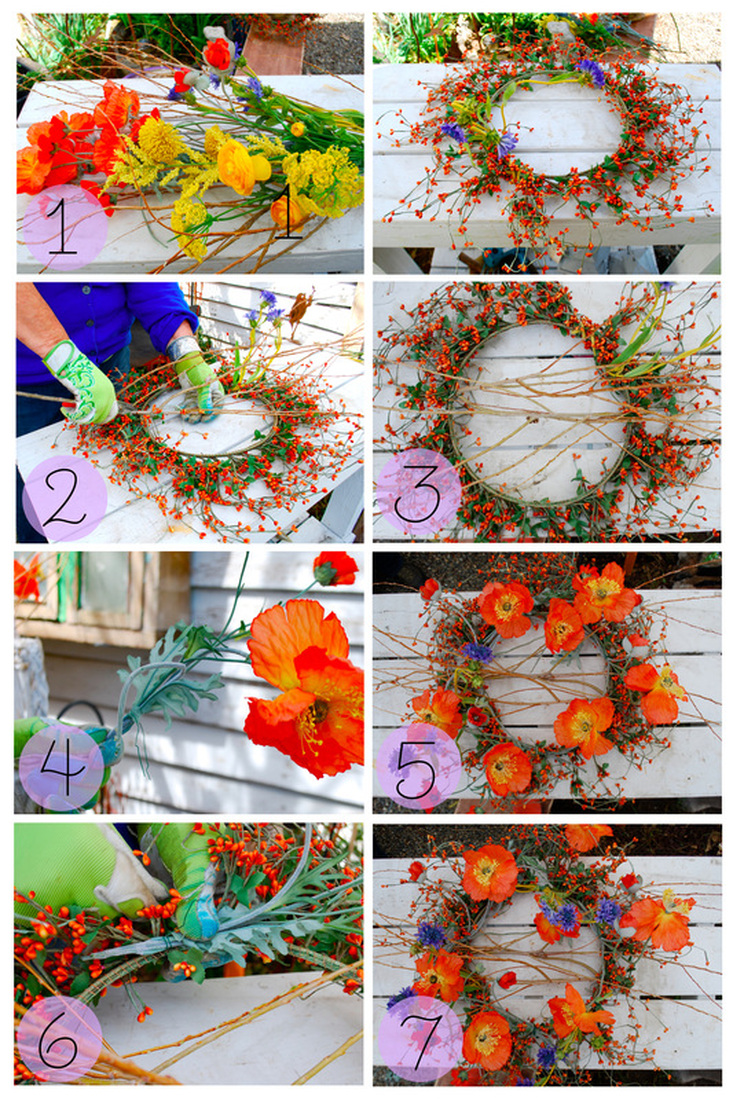
1. Gather supplies. For this you will need:
3. Secure your branches by cutting a few inches of the floral wire and hooking it in the crook of one of the branches. Make sure you secure each branch on both ends. We placed ours in the center of the wreath parallel to each other. 4. Next, cut small portions of your floral wire, and wrap each poppy a few times around. Make sure you really anchor your poppies. Although you want the poppies to have movement, you have to make sure that they will not be blown right off your wreath. 5. Place each poppy equal distances form each other, so that the wreath turns out uniform. 6. Add in your butler buttons. Ours had wire in their stems so it was easy for us to use their stems to wrap them around the wreath. We used a little bit more floral wire to secure our Butler Buttons. If you live somewhere like the Carson Valley- secure, secure, secure! The wind would like nothing more than to pluck off any flowers that it can. 7. Finalize your wreath by adding any more floral wire you need, then make sure all of the floral wire you have used is tucked away so it cannot easily be seen. Finally, enjoy!
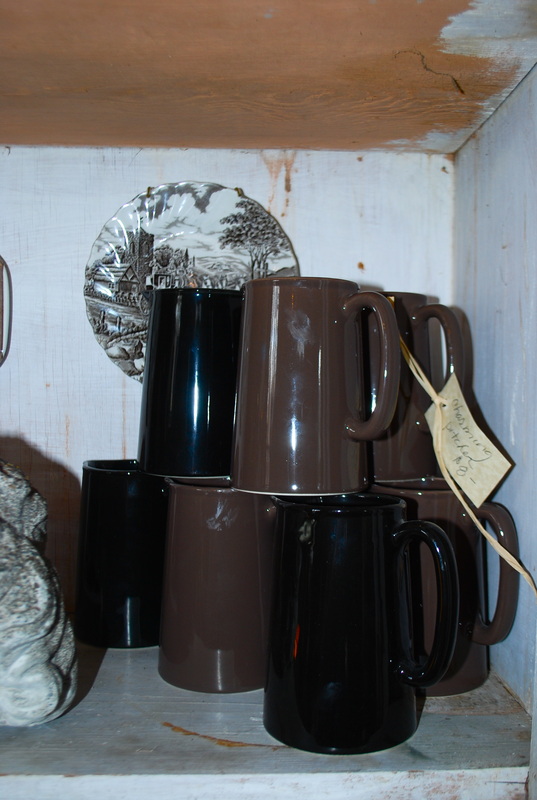
Grouping similar items is a great way to make a big visual impact for a very low cost. In the shop grouping is a display strategy that we use frequently. It allows for visual candy, and easy location of items. It is not just a design tactic that can be utilized in merchandising situations- it is also a great method for creating a simple, but elegant space in your home. Gathering items that have like qualities, and displaying them on various heights is just as effortless as it sounds. To make an impact, you need not break into your piggy bank- items can be as simple as large spools of thread, or some charming purses you have gathering dust in the back of your closet. Possibly the most timeless grouping is a bouquet of flowers & it is also the perfect example of how much of an impression it can make. 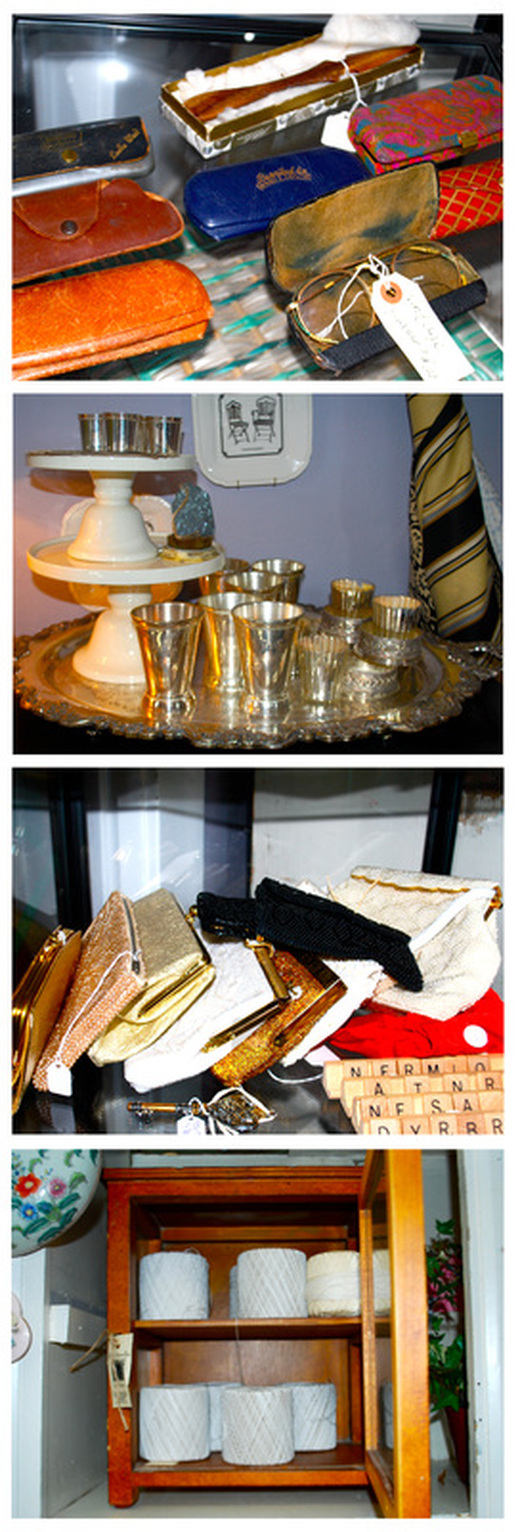
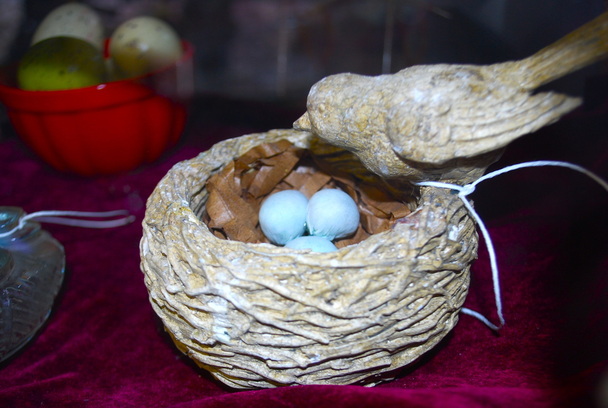
Lately birds have been delighting the senses. They sing all day, and they are as colorful as springtime blooms. We cannot help but feel inspired by their presence. If you come into the shop, you will notice that they make an appearance inside, almost as much as they do outside. Nests, charming boxes, and figurines can be found scattered all around. Outside we have seed, and bird baths to help draw in real birds, since they are such a delight. 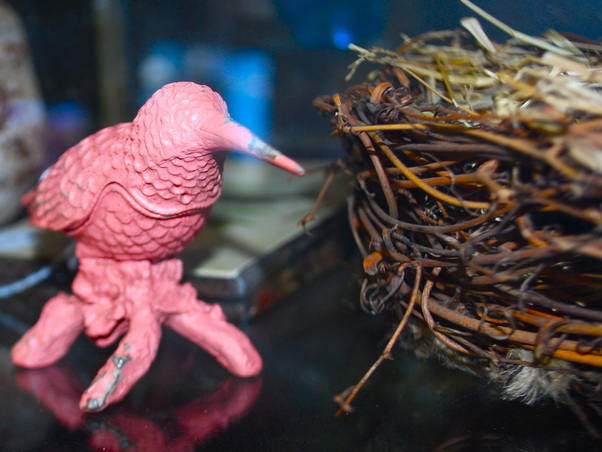

We just die for a famous quote, and even one that isn't known. Whether it be Winnie the Pooh or Thoreau- if it inspires us, we like to find a way to incorporate it into the store. We have chalkboards all over graced with combinations of letters that have proved to excite the mind through the years. If you ever find a frame you love, that houses a picture you don't, it is incredibly easy to make it into a customized chalkboard. Our favorite way to achieve a DIY chalkboard is to use chalkboard spray paint. It only comes in black, but it really is the least laborious way to accomplish the look. Just make sure to use painters tape on the frame to keep it looking fresh. Below are some of our favorite quotes. And we can't help but love how divine they look. 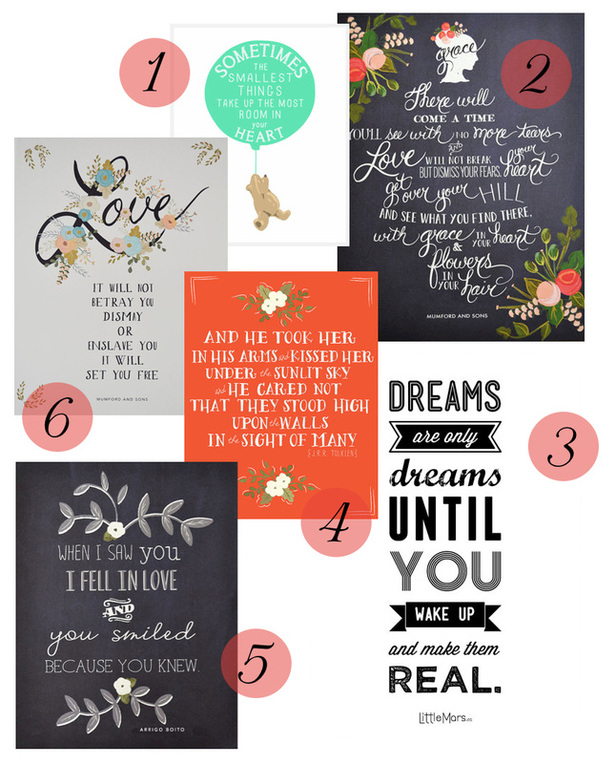
Clockwise:
1. Winnie The Pooh - $4.50 2. Mumford and Sons - $46.00 3. Little Mars - $24.00 4. J.R.R. Tolkien - $46.00 5. Arrigo Boito - $46.00 6. Mumford and Sons - $46.00
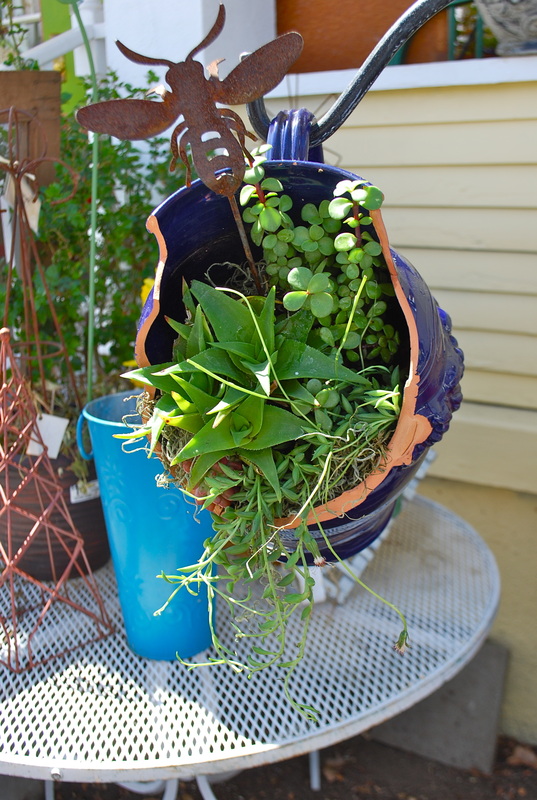
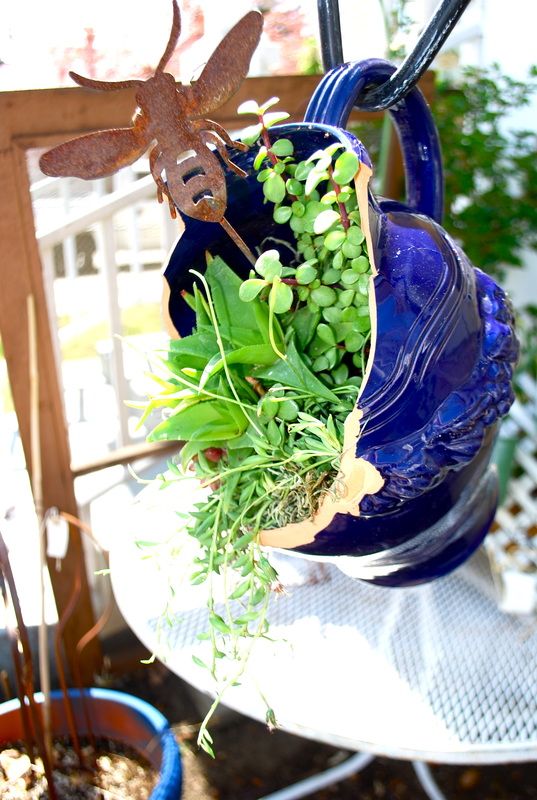
Just last week a small accident took place, and this beautiful blue vase broke. After it broke it transformed into such a striking item that we had to think of something to do with it. After some thought, Julie came up with the most charming idea to make it into a small succulent garden. Since not everyone has space, or time to maintain a large outdoor garden, this is the perfect alternative! This is such an easy project- and the results are beyond gratifying. A tutorial follows, so you can make your very own!  1. Gather your supplies. For this you will need:
3. Cut a square of you cloth soil keeper and place in the bottom of your container. Add some pebbles over the bottom of your cloth. 4. Add in your soil. We used Miracle Grow, it always gives us great results! 5. Add in your tallest succulent. Since this one peeks over the top of all the other ones, it is the "thriller". We used Elephant Bush. It is important to gently break apart the roots before planting each succulent. 6. Add in the succulent you are using to "fill". Climbing Aloe is perfect for this. 7. Your "spill" is next. Seriecio Radicans Glauca is what we used. It looks divine. 8. The last succulent we used is Sedum Robrotinctum cv. Aurora. Our little garden needed a pop of color and this was fabulous. 9. Add in you moss, and an embellishment. The contrast between the green and blue and the rusted metal bee we used is the best choice we could have made. 10. Water. You garden should get a drink once a week, until it dribbles out of the bottom. Over watering will kill you succulents, so really- only one time per week! We hope you've enjoyed this tutorial! |
 RSS Feed
